Do a balloon mosaic number 1 is very simple, no measuring, no drawing, no transparent glue, etc. Just need a large discarded cardboard box, a glue gun (if not you can also manually glue) and various colors of decorative balloons
This is an easy DIY you can make that will look great at any party. Without further ado, check out our tutorial on how to make your own giant digital sculptures filled with balloons.
The good news is that they are fairly easy to make and, like balloon wall art, very budget friendly can be quite inexpensive.
How to Make Balloon Numbers
How Many Balloons Does It Take?
What you need?
Step by Step to Make a Balloon Numbers 1
How Many Balloons Does It Take
The number of balloons will vary. It will depend on how many numbers or letters you have. My suggestion is to purchase more balloons than you think you’ll need.
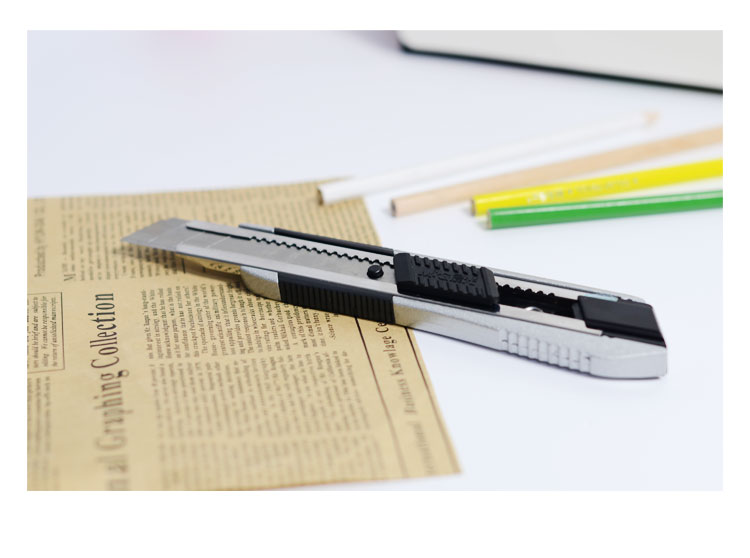
First, gather supplies, here’s what you need:
What you need?
a large discarded cardboard box
glue gun or manual hot glue stick
knife
Balloons
Step by Step to Make a Balloon Numbers 1
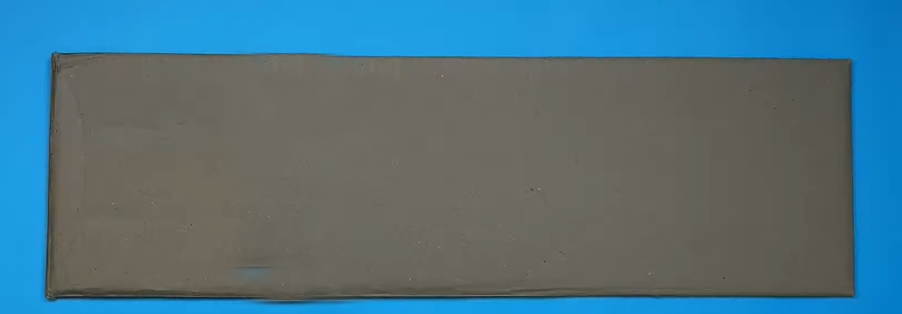
Step 1: Cut the cardboard box
Cut the large cardboard box into a rectangle of your desired size height, generally speaking, large mosaic balloon figures measure 29.6″ x 9.1″ or more.(Please keep the pieces cut off will be used later)
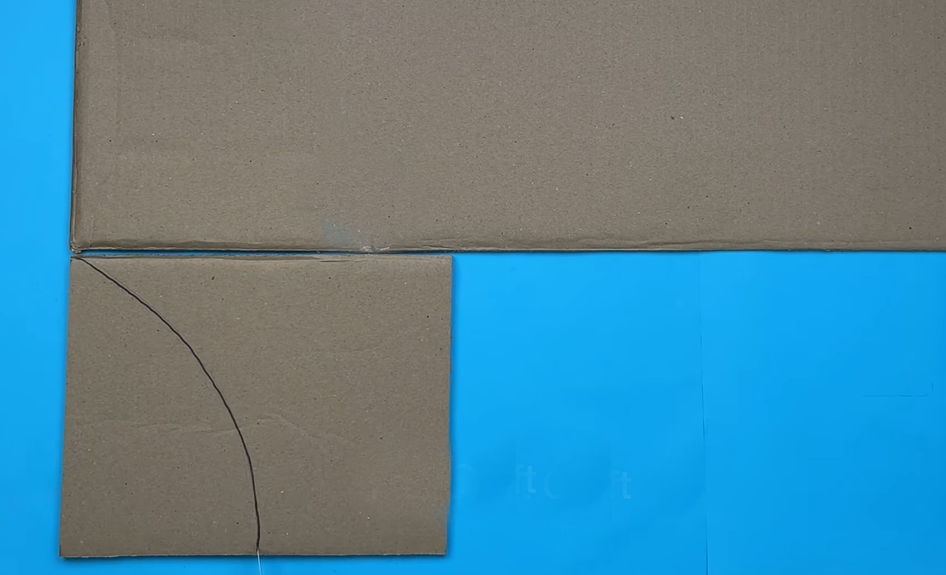
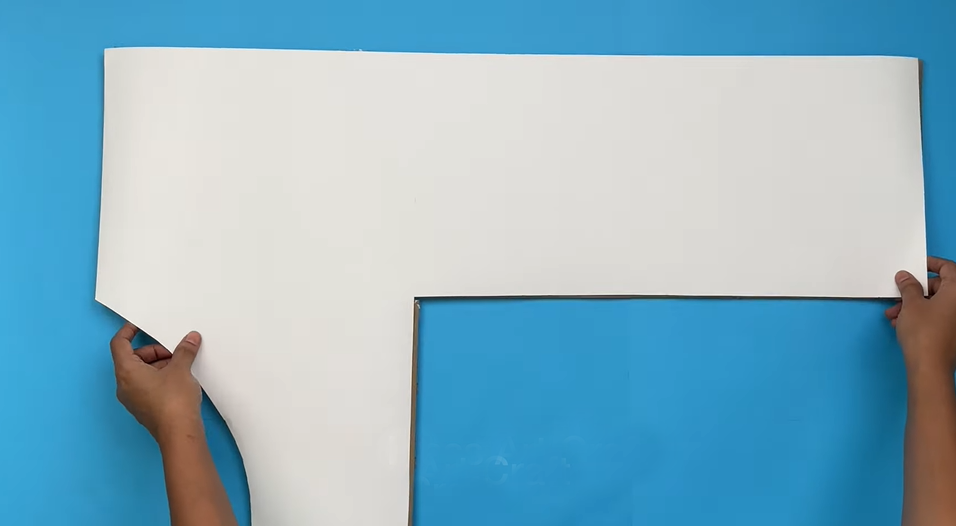
Step 2, Cut number 1
Add a square to the top three copies of this place and cut out the shape of the head of the 1. Then use clear glue to put them together.
I’d definitely recommend numbering them, or at least lining all the foam board pieces up with the paper stencil before you start gluing things together. If you’re working with double digits, it’ll ensure they’re both the same size!
Step 3: Optimize the color of the surface and the inside of the carton
Since I am using a floral cardboard box, it doesn’t look nice and clean enough, so I will cover it with a plain white paper to make it look newer and cleaner. It’s fun to cut out the “clothes” to fit the edges of the finished 1 figure, right? Dress it up from the inside out. Like this.
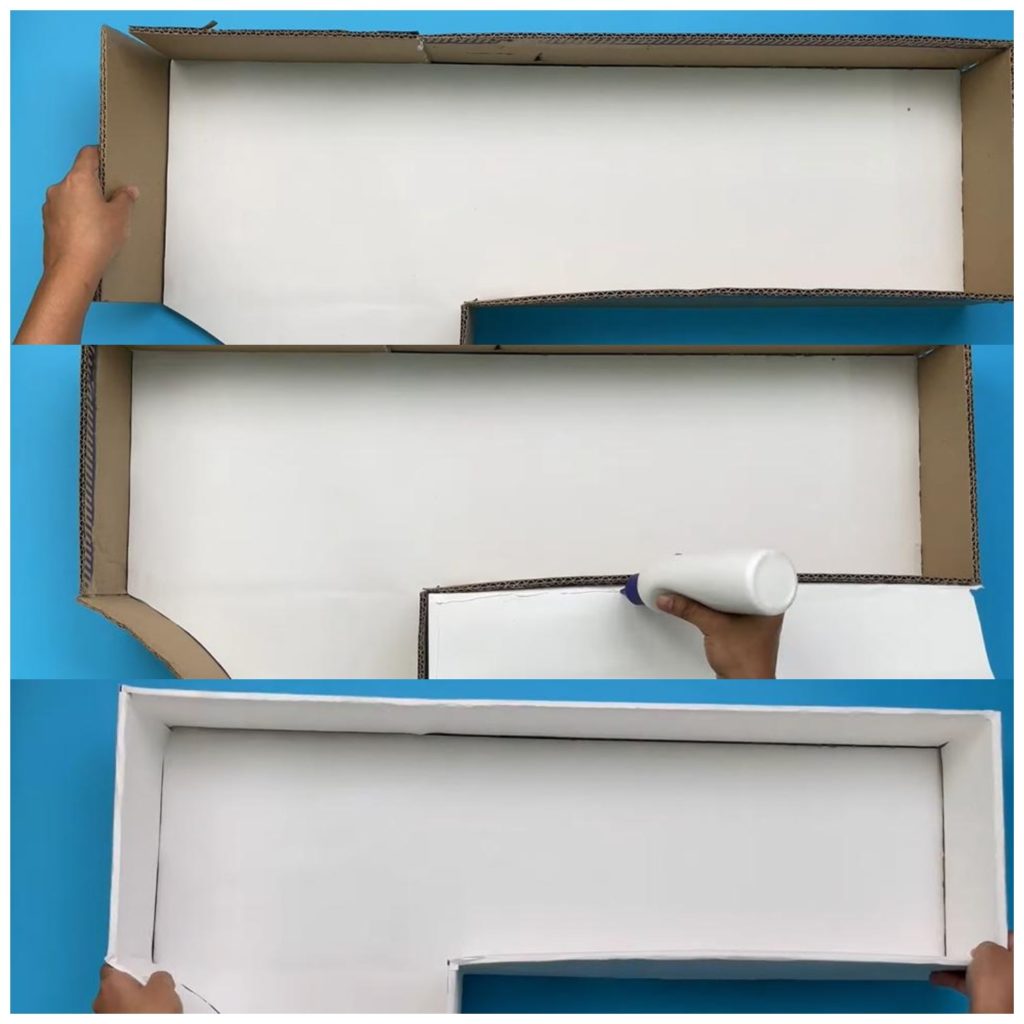
Step 4: Adding the Sides of the 1 number
Now, to make the sides or edges! Decide how “deep” you want to make your numbers. I wouldn’t suggest anything smaller than 5″, because most balloons inflate larger than that! For my numbers, I went with 5″.
It’s a great idea to use the extra cardboard pieces you cut out in step 1 to make the edges.
We’ll hot glue them together piece by piece, and then dress the edges in white as well. Like this.
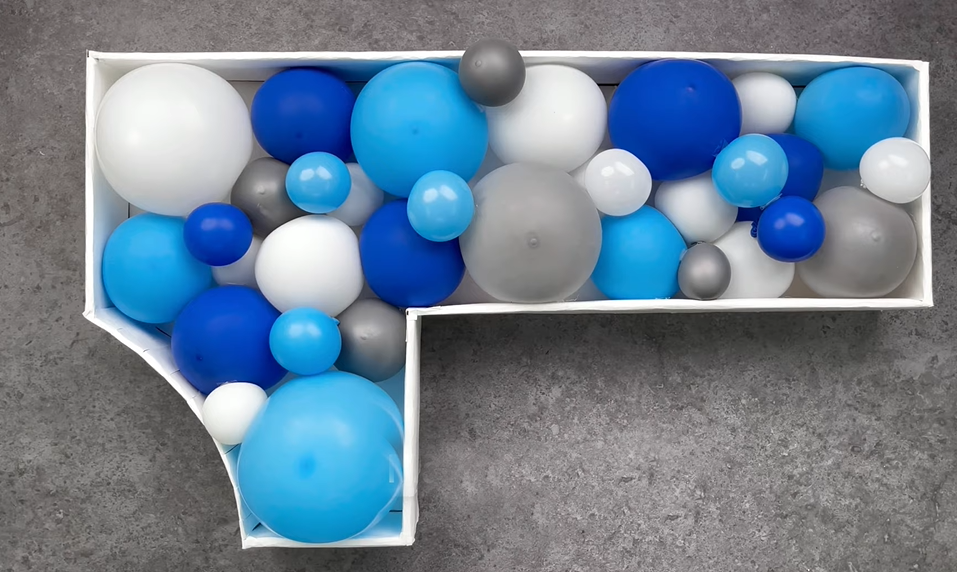
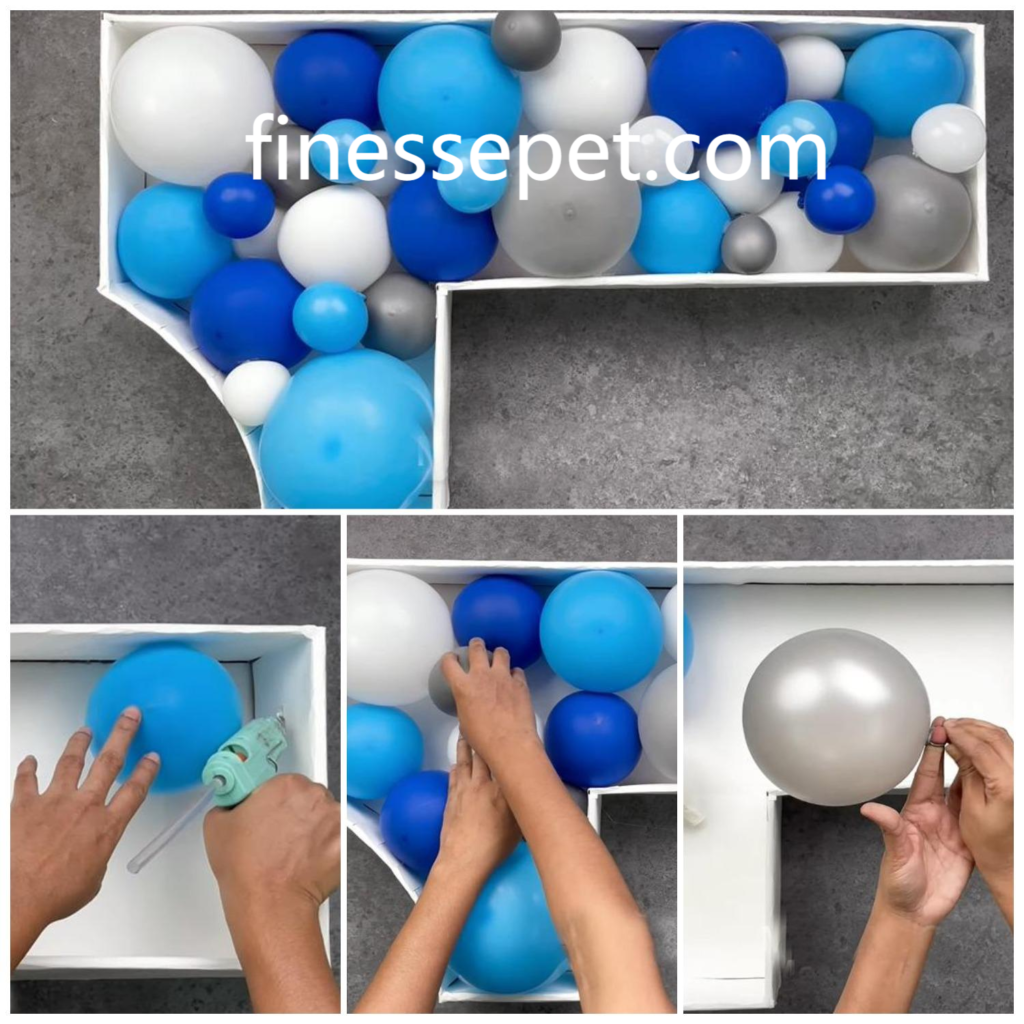
Step 5: Start filling the balloons with various colors and sizes
Yes, you probably already have your balloon color scheme in mind when you decide to make digital balloons, I I recommend a maximum of three colors, too many will look too fancy.
In each balloon placed on the point of a little hot glue, and then the balloon can be glued on.
By space to fill the balloons of varying sizes, try to fill it up.
Like this.
How fun, right? These balloon numbers could easily be letters, a last name, or even just a shape – like a square backdrop! I don’t know how well they would hold up outside (with wind or extreme temperatures), but I think it should be at least three days with minimal balloon shrinkage!